Designing Parts for 3d Printing
FDM (fused deposition modeling) 3D printing builds parts by heating and extruding thermoplastics layer-by-layer. FDM is a good 3D printing option for strong prototypes and functional parts. Material options include popular thermoplastics like ABS, TPU, PLA, Nylon and more. Get an instant quote for parts within days.
Even if you get every setting on your printer perfectly dialed in for the filament you’re using, there are some critical design factors to keep in mind. When you’re designing your 3D printed part, start out with these considerations to ensure your print is set up for success, and requires less cleanup!
How will it fit on the printer bed?
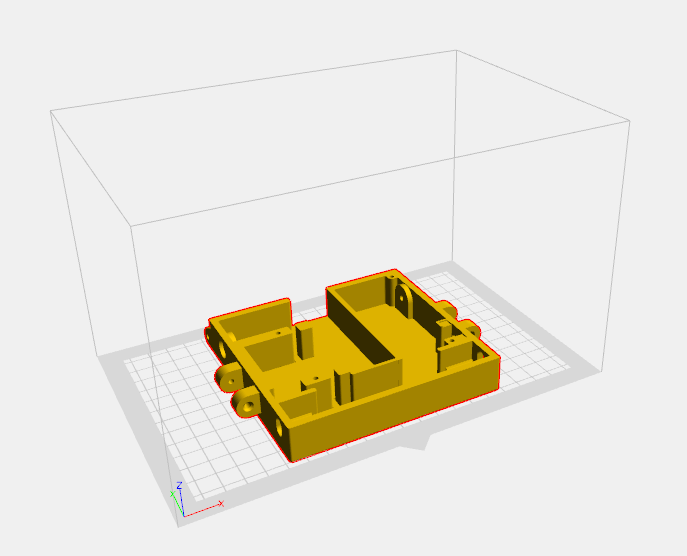
The first layer of a 3D print will need to adhere to the print bed and stay attached through the printing process to achieve a successful finished product. The most stable print orientation will be the safest, so usually plan to have the surface of the part that has the widest area to be in contact with the printer bed.
Good orientation:
Anteater: SCAR Malice Plastic Ant Kit Design https://teammalice.com/index.php/scar-plastic-antweight-electronics-kit/
Unstable orientation:

The taller the print, the more stable you will need the base to be.
Will it fit the bed size?
Printers come in various sizes, each with the capability to print different part dimensions. While certain printers excel in handling larger objects, others are more adept at printing smaller and intricate designs. Understanding the unique capabilities of each printer empowers you to choose the perfect option for your specific printing needs, ensuring impeccable output quality with every creation. Explore the extensive range of printer sizes to find the perfect fit for your projects, whether they require printing on a larger scale or demand intricate details on a smaller canvas.
The Bambu X1C has a bed size of 256 x 256 x 256mm
The Markforge has a bed size of 320 x 132 x 154 mm
The Flashforge has a bed size of 280 x 250 x 300mm
You can see the boundary box (how large the print bed size is) for each individual printer after you upload your design and select your material.

Will any areas need to be supported during the print?
“Overhangs” are areas of the print that do not directly build on top of the previous layer. We can still print parts that have these features! Overhangs steeper than 45º will usually need supports to be printed alongside the part to hold them up. This will increase the amount of material and the time it will take to make your part, making it more expensive. Removing the supports and cleaning up the surface of the part where the supports meet will also take some time and effort when you receive the part.
You can avoid the need for supports in your design by keeping overhangs low. You can also use supporting geometry, like fillets and chamfers, to keep the print continuity seamless.

Benchy: https://www.thingiverse.com/thing:763622
Is all the geometry sturdy?
We can get some surprising detail out of a high-resolution print, but super fine geometry like tiny holes or thin lettering may not print successfully if they’re too frail, especially if they are on a vertical surface of the part during printing. Smaller features should be supported as much as possible from the base of the part, building upwards.
While the standard print nozzle extrudes through a 0.4mm diameter, positive features like raised text that is thinner than 1.2mm will be at risk of being easily damaged. Even in our strongest materials, thin lines and shapes can be at risk of being damaged in the printing or shipping and handling processes. And if it can be damaged in shipping, it will probably also be at risk of breaking when in use.
Adding a fillet or chamfer to internal corners will help make them stronger, so even a slight curve can make a big difference.
Does the material you’re printing have special considerations?
We recommend checking our Material Page to see if the filament type you’re looking at has any special considerations.
Part Ready for 3d Printing Checklist
- Part is 1:1 scale in either MM or Inches
- Part has accounted for Material Special Considerations
- Part fits in the printer selected
- No thin wall geometry under 1.2mm